What do you do when you’re an elementary school science teacher and you’re given a room with NO WINDOWS!? If your a bit of a geek and a maker like me, you turn the room into your very own STARSHIP CLASSROOM.
WATCH THE VIDEO
Let’s face it, building a science-fiction based room is any geek’s dream build, and if you’re a student coming to a startship classroom, hopefully it makes learning even more fun. Best of all, I got to learn a lot of new skills in the process of creating this. I used maker skills that ranged from 3-D printing, to computer controlled routers, to coding and electronics. Here are some of the basic elements of the room, and how they were made:
 The room started out looking like a typical science classroom. But that would soon change.
THE SENSOR ARRAY
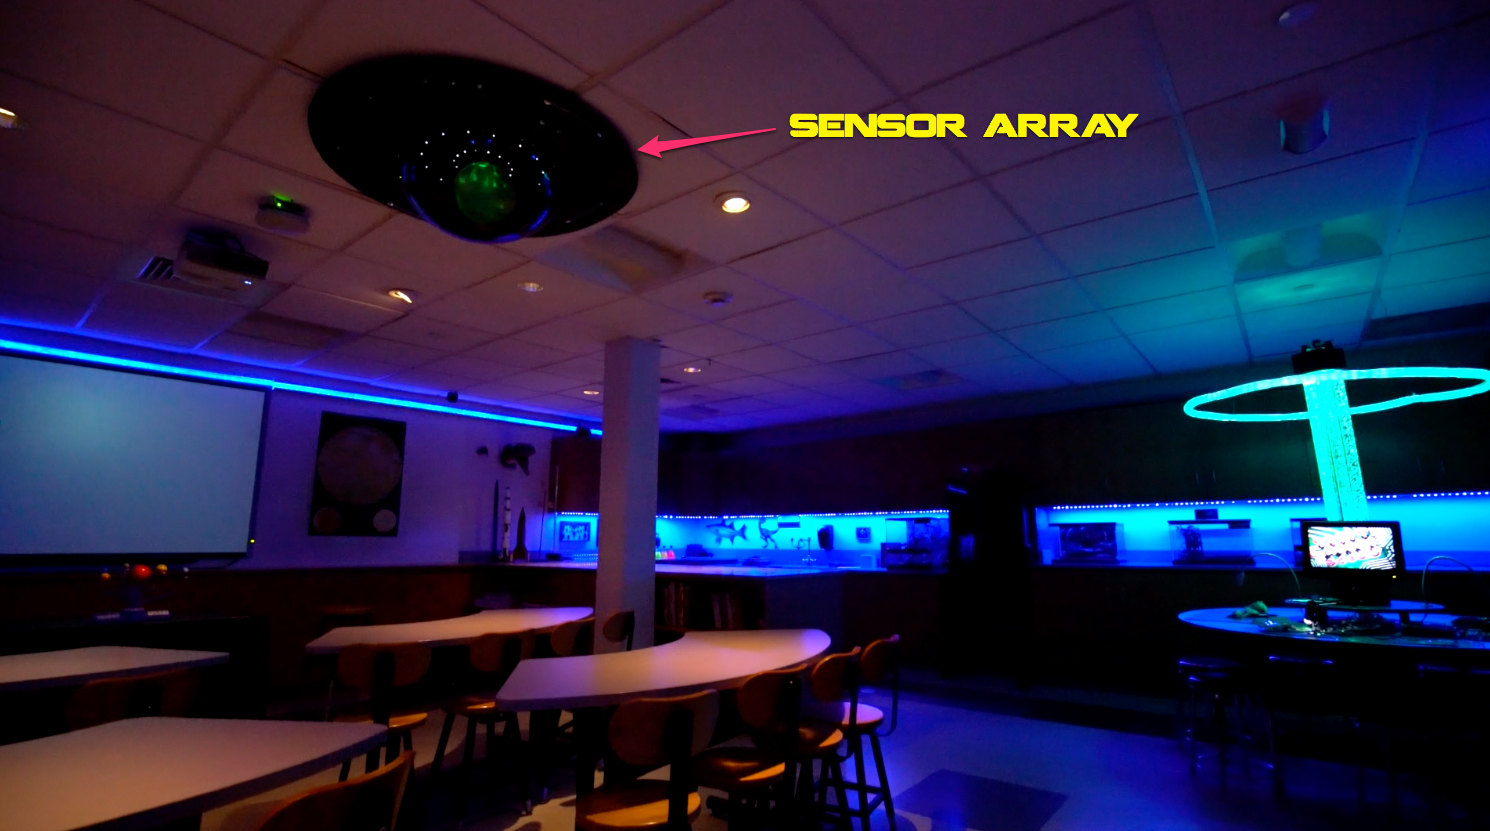 The sensor array on the ceiling has no practical purpose other than looking cool. It was made of some scrap plywood and uses a smokey security dome that I got from a store going out of business. I added some holiday lights and put a color changing globe inside of the dome which had a really nice effect. It ended up looking like it belonged in the Death Star, which I considered a plus.
 Here it is under construction. Fairly simple in design, but it looks pretty cool.
WALL CONTROL PANELS
 The control panels were much more complex. The lower part was created by designing a layout on a computer by adding holes and openings for various buttons and lights I had. I then had these laser cut to size in black plexiglass. I could have drilled the holes, but many of the buttons were square, and I was fortunate enough to have access to a laser cutter.
The panels used numeric counters, LEDs, buttons and switched that I had, or sourced on eBay. The lighting effects were done using a modified Arduino controller to create the blinking and patterns. The video monitors were some hacked video panels that used to be part of a store display. I found these on eBay for about $8 each. I created the displays from some templates I found on-line, and then, for fun, modified them with some hidden easter-eggs of teachers names and school locations.
 The round sphere on the left panel has a color changing LED Christmas ornament under it for effect. The two numeric displays on either side are voltage displays which I hooked up to the LED. Because the different colored LEDs require different voltages the displays continually change in sync to the LED colors.
 Inside the control panels – that’s a LOT of wiring.
AIR LOCK DOOR
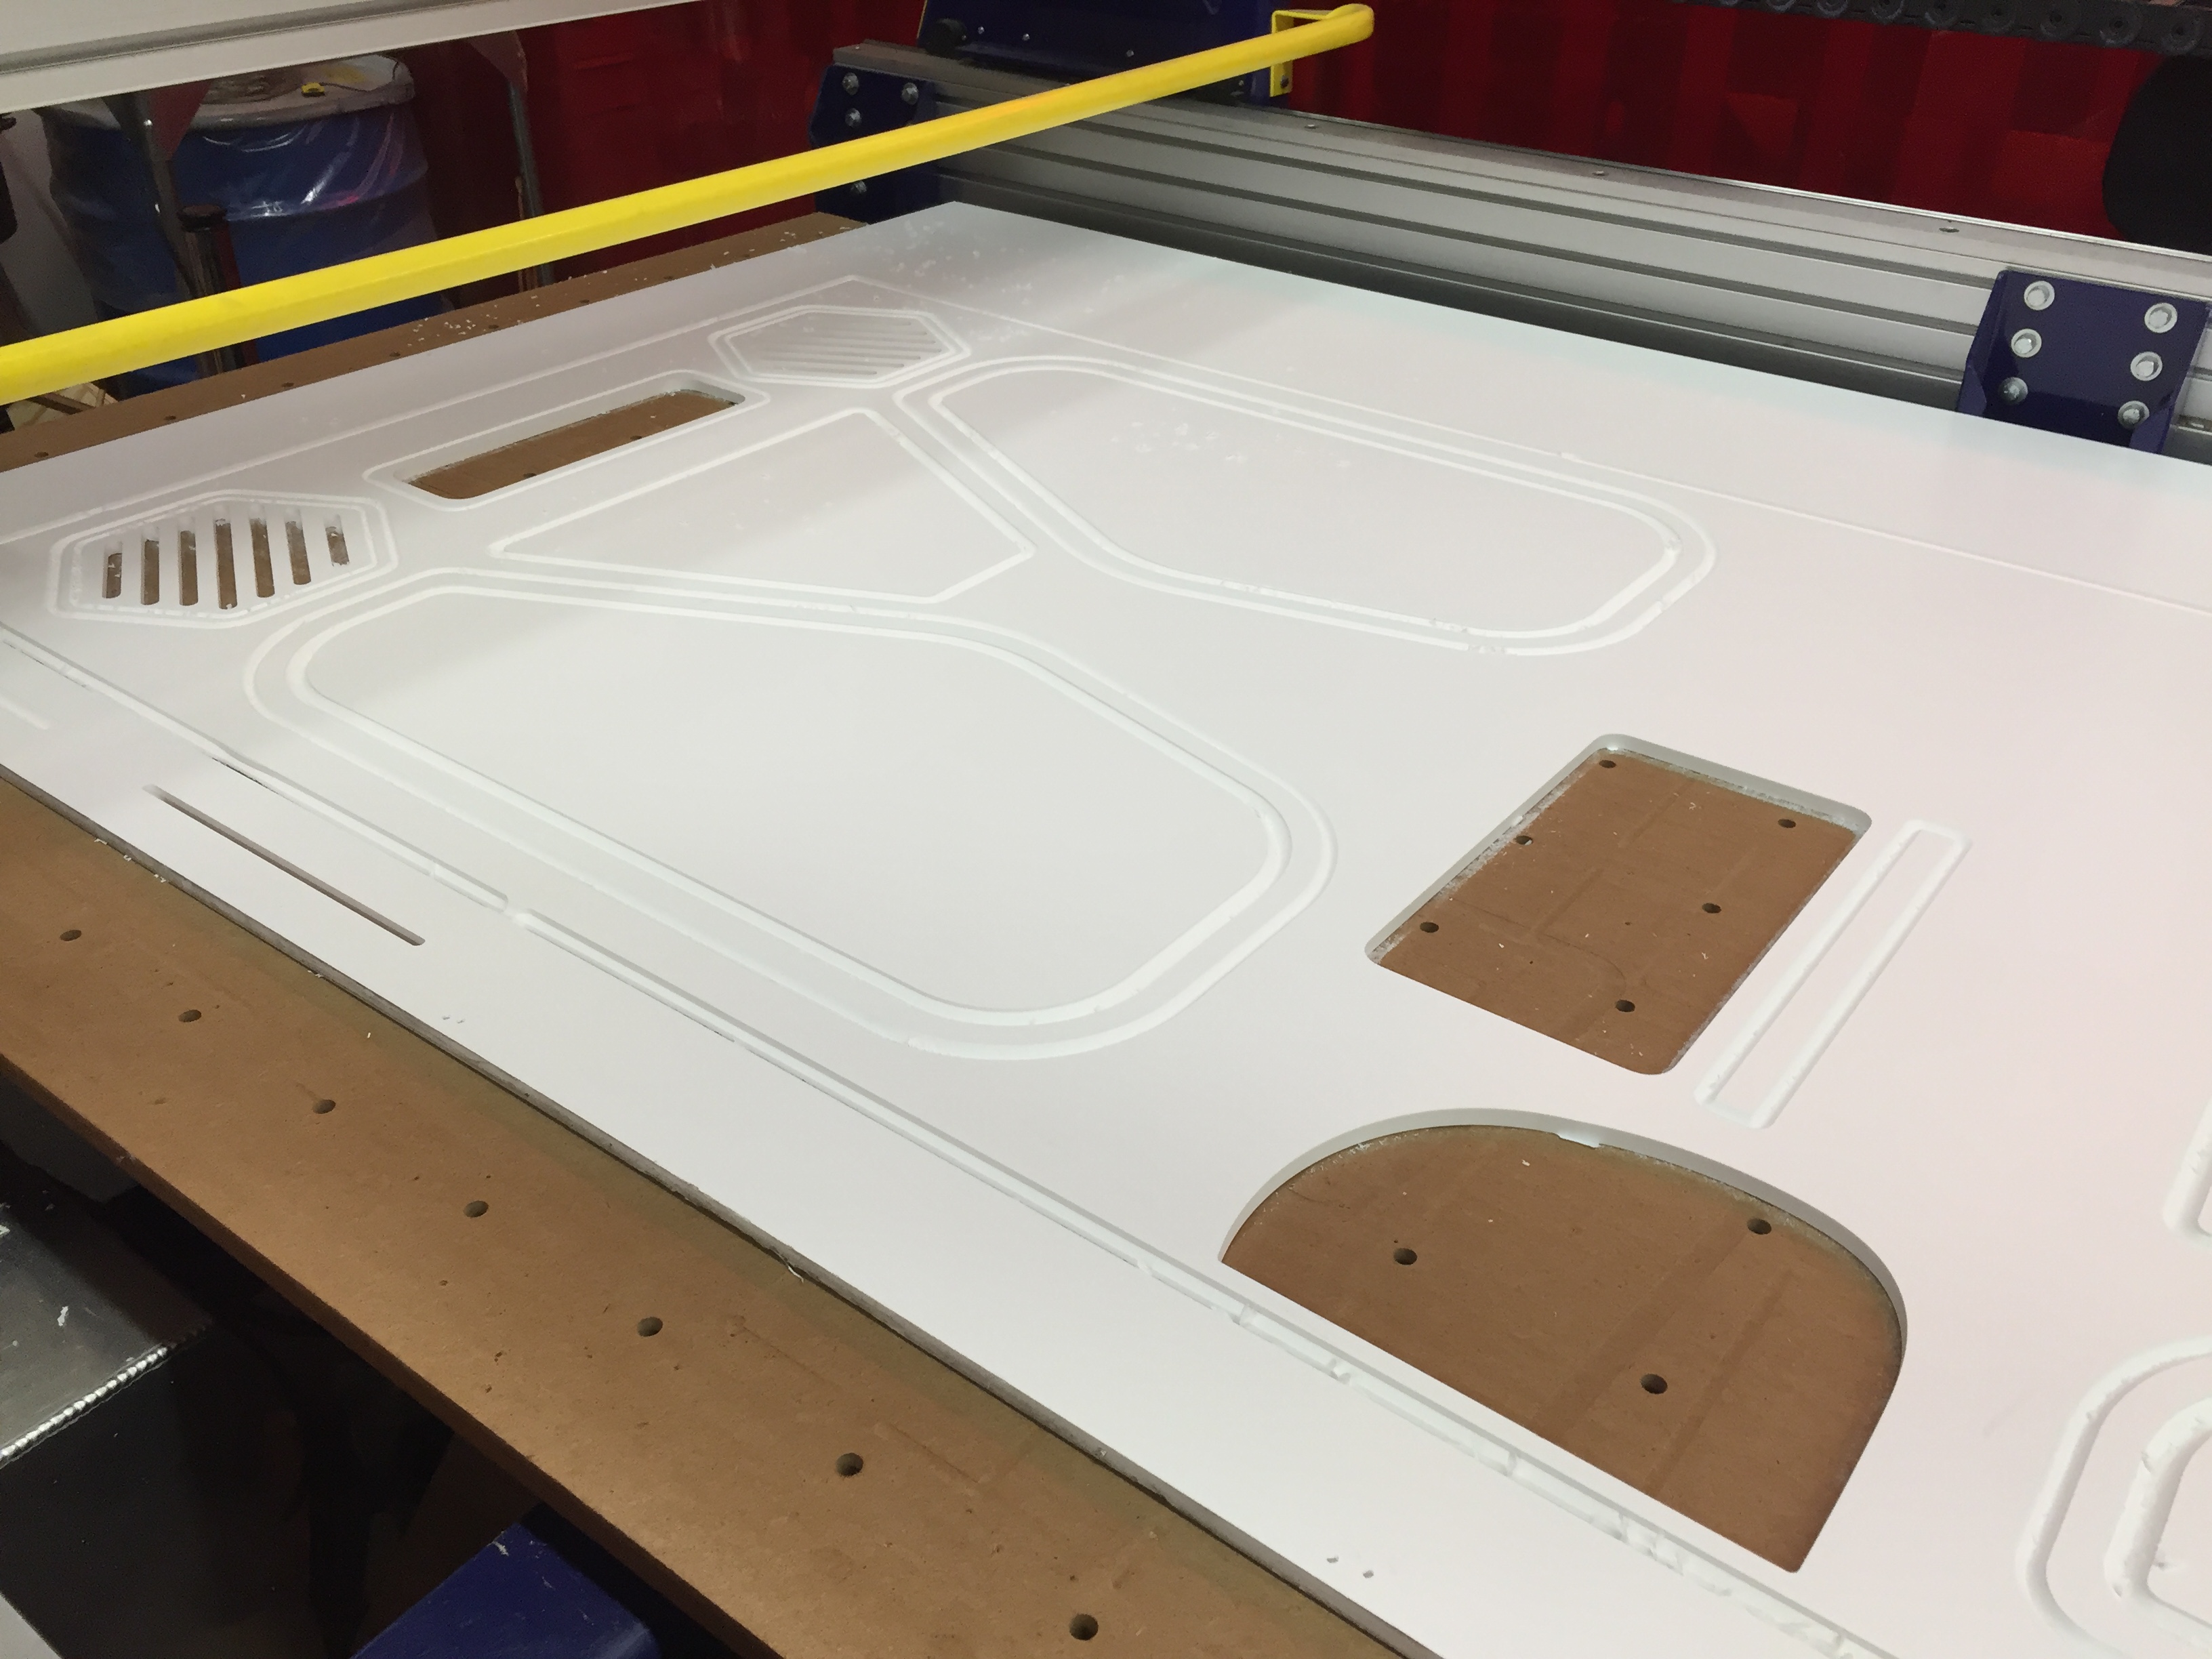
 I love the airlock door – mainly because every now and then a a maked something you build from scratch turns out looking just how you imagined it, and this was one of the few things that did. I designed this door using Apple Pages (really!) and then transferred the design to a CNC program (VCarve) which would allow me to to use a computer controlled router to cut all the grooves with a level of precision that I could not accomplish by hand.
I should probably point out here that I do not own a laser cutter or CNC router – I am part of a wonderful community maker space that gives me access to an amazing amount of equipment and talent that I am lucky enough to utilize every day.
 I originally cut the door out of wood, but it looked pretty bad and would take many hours to sand smooth, So I then tried 3/8 inch expanded PVC which is often used for house siding and trim. The results were exactly what I was looking for and it was practically ready to hang!
 The video display on the door was made using an old digital photo frame that could play video files. I created all the graphics in Apple Keynote and exported them to video files. They loop endlessly. I hid the frame in some scrap pieces of the expanded PVC. The buttons were made on a laser cutter and have no function. The door was simply applied over the existing door with double stick tape. I added some signage and caution tape and the airlock was complete.
TEACHER COMMAND CENTER
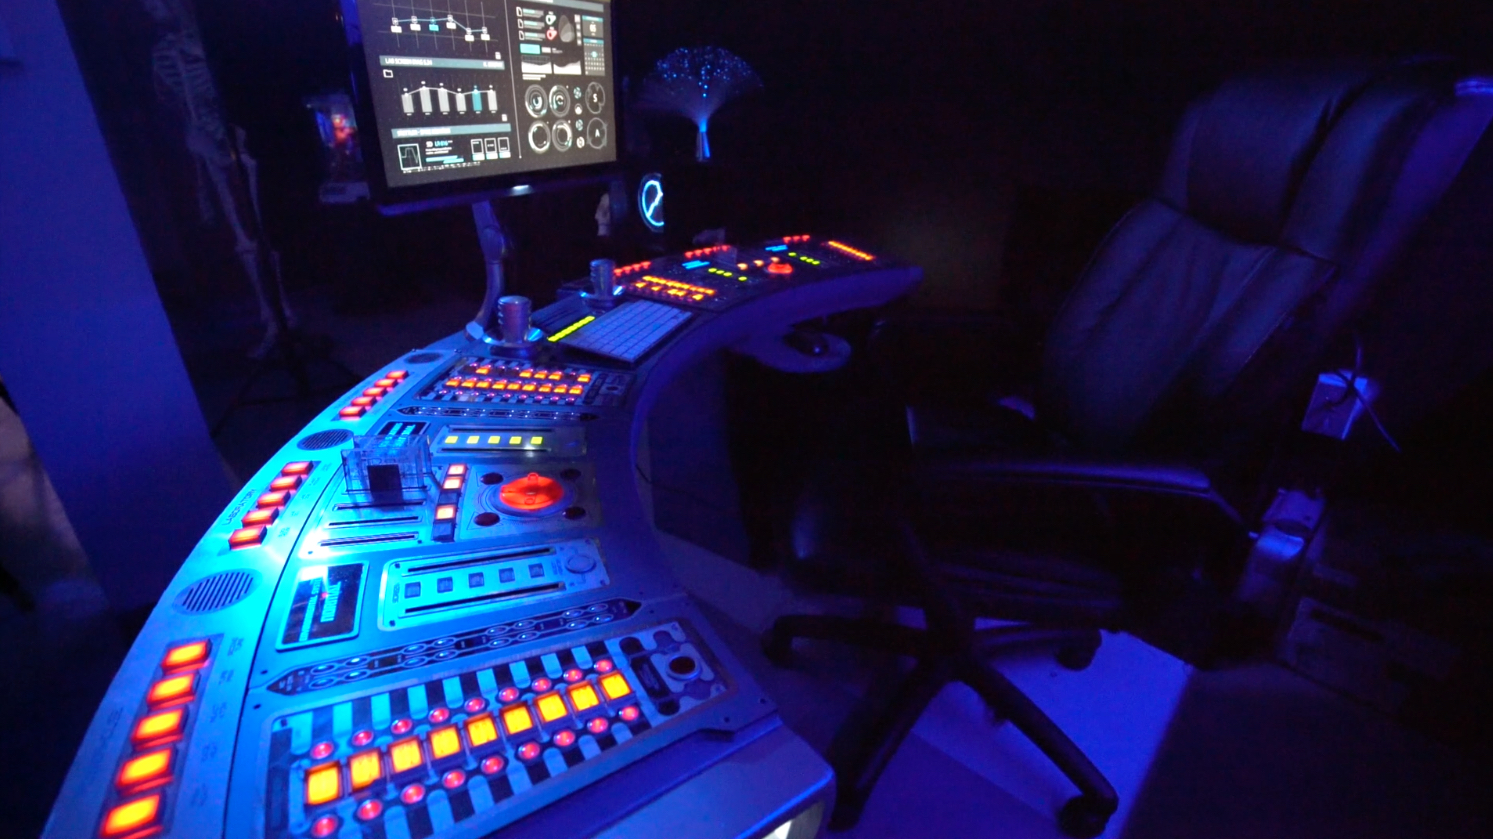 The Command Center is a favorite part of the room, and the best part is it is a real movie prop! This was the main console used in the 2004 movie, Thunderbirds.
 Here is my console being used by Oscar winner Ben Kingsley!
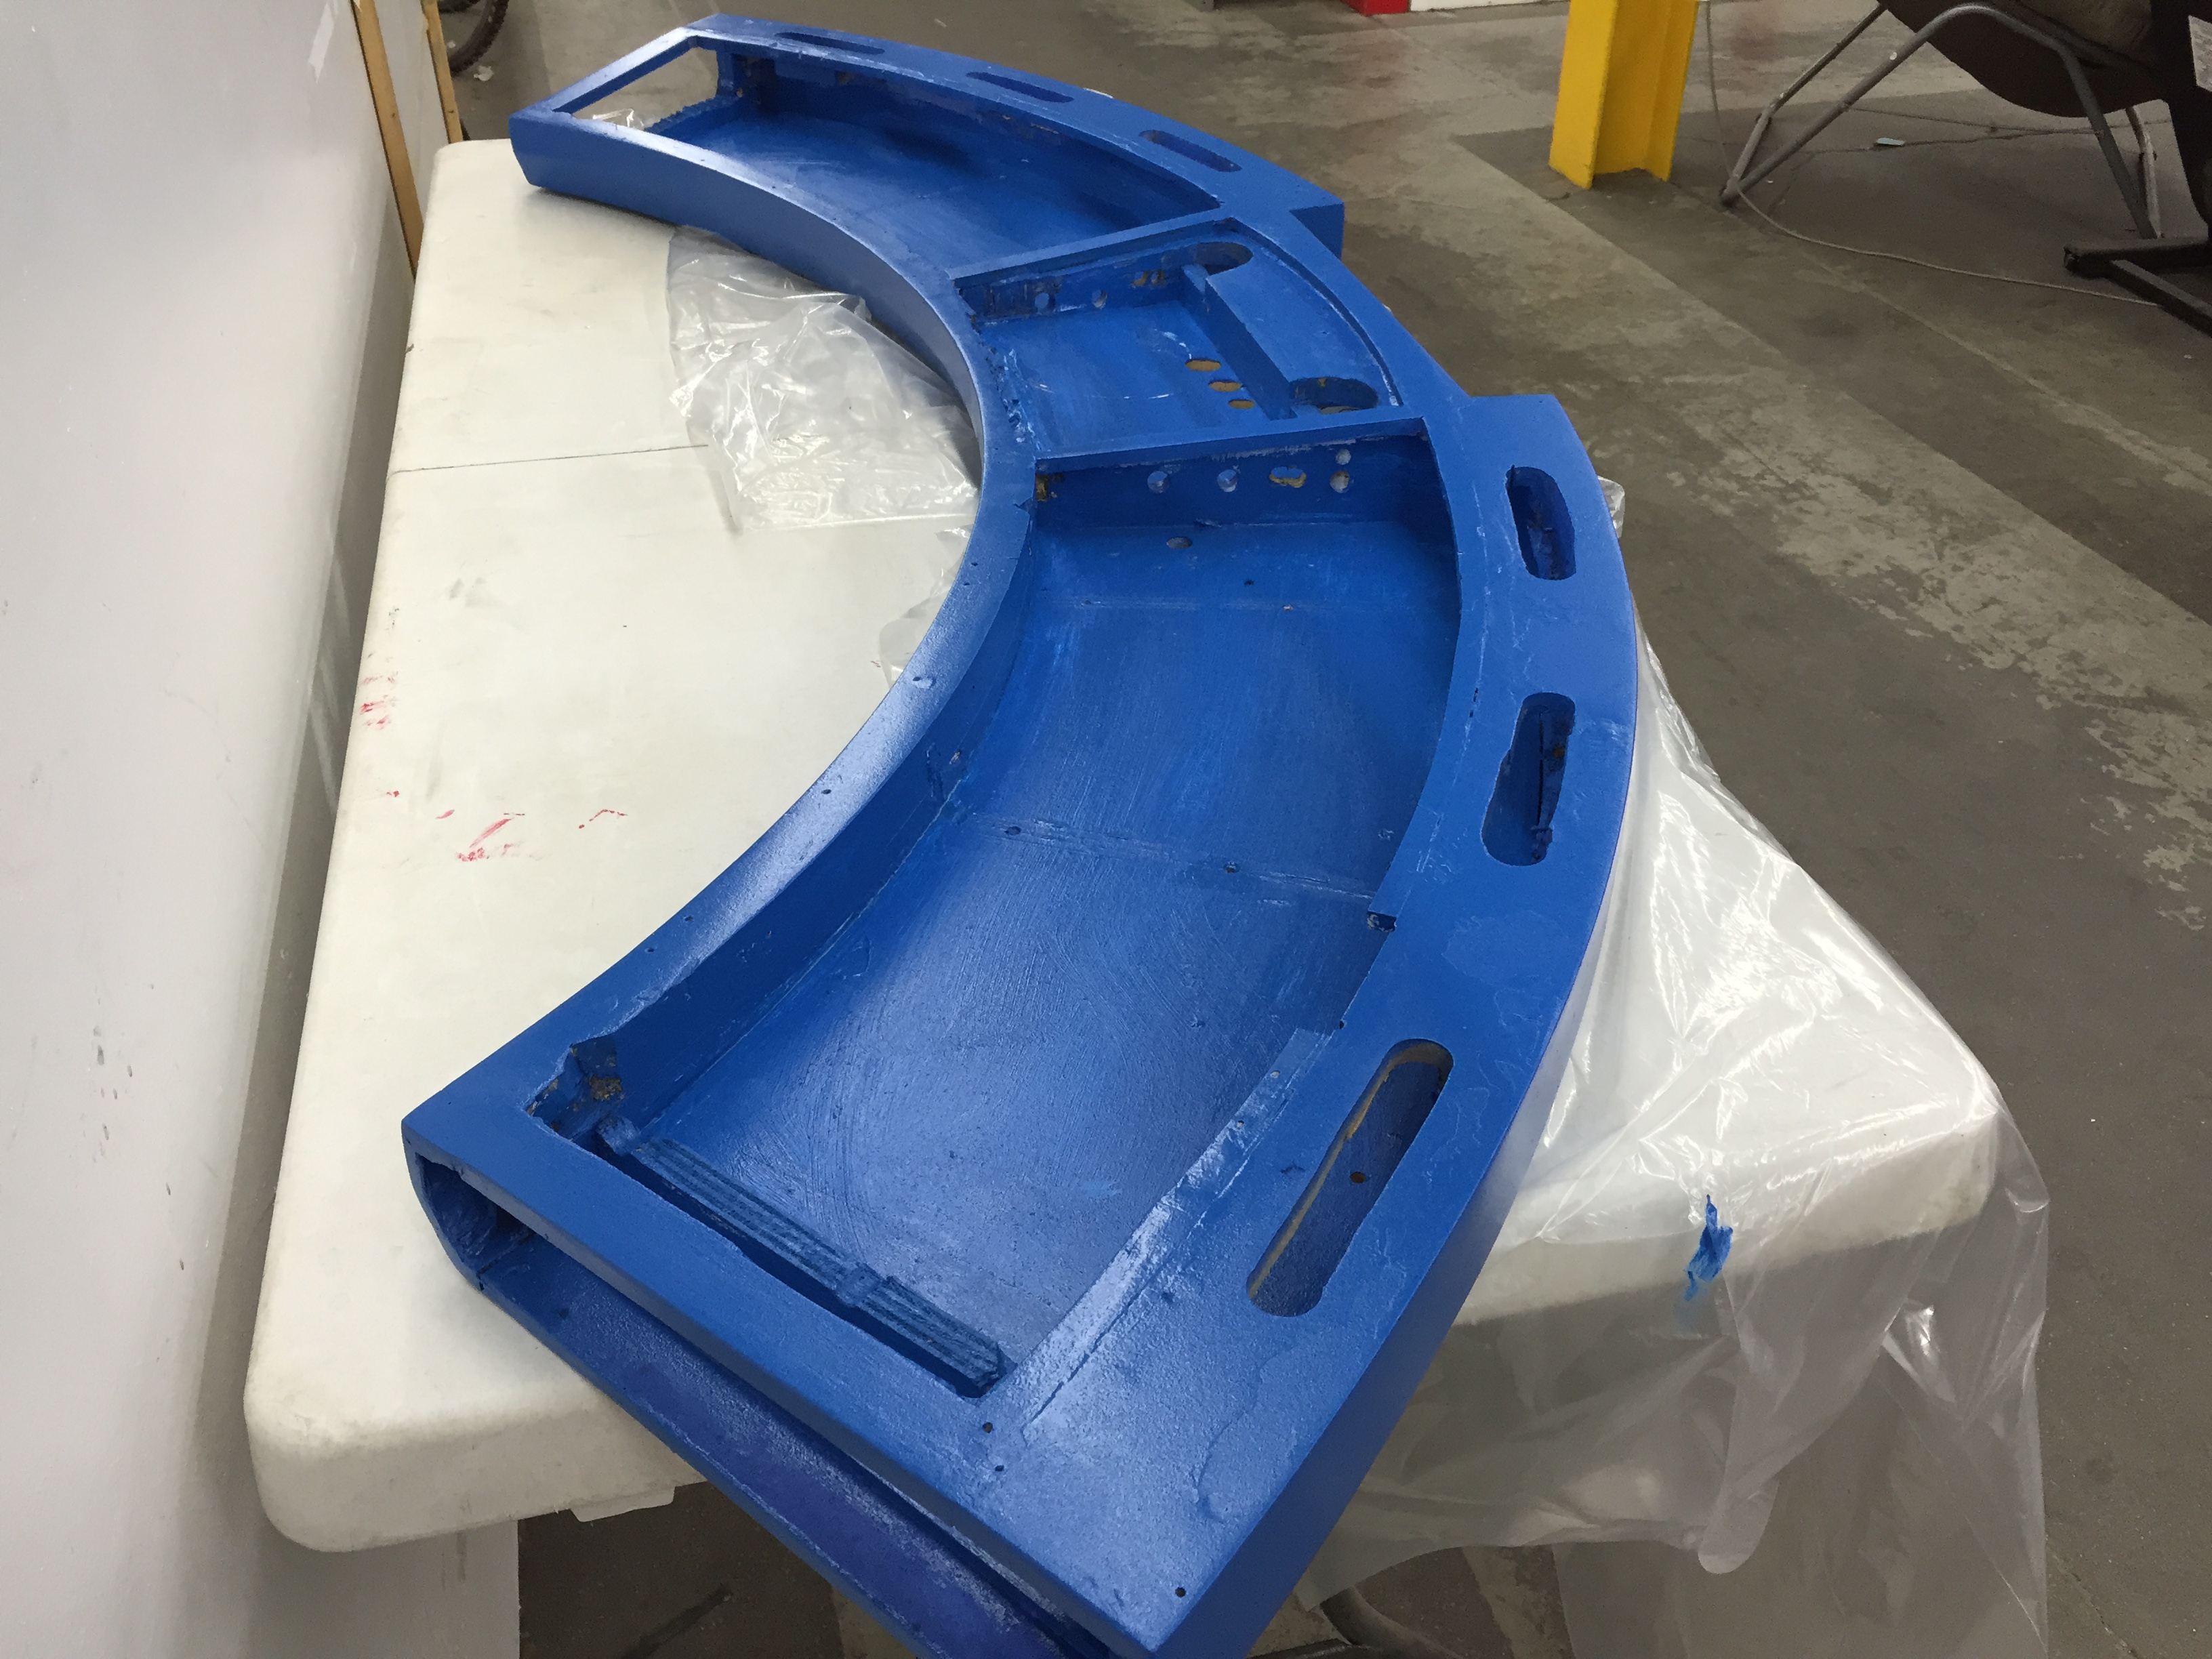
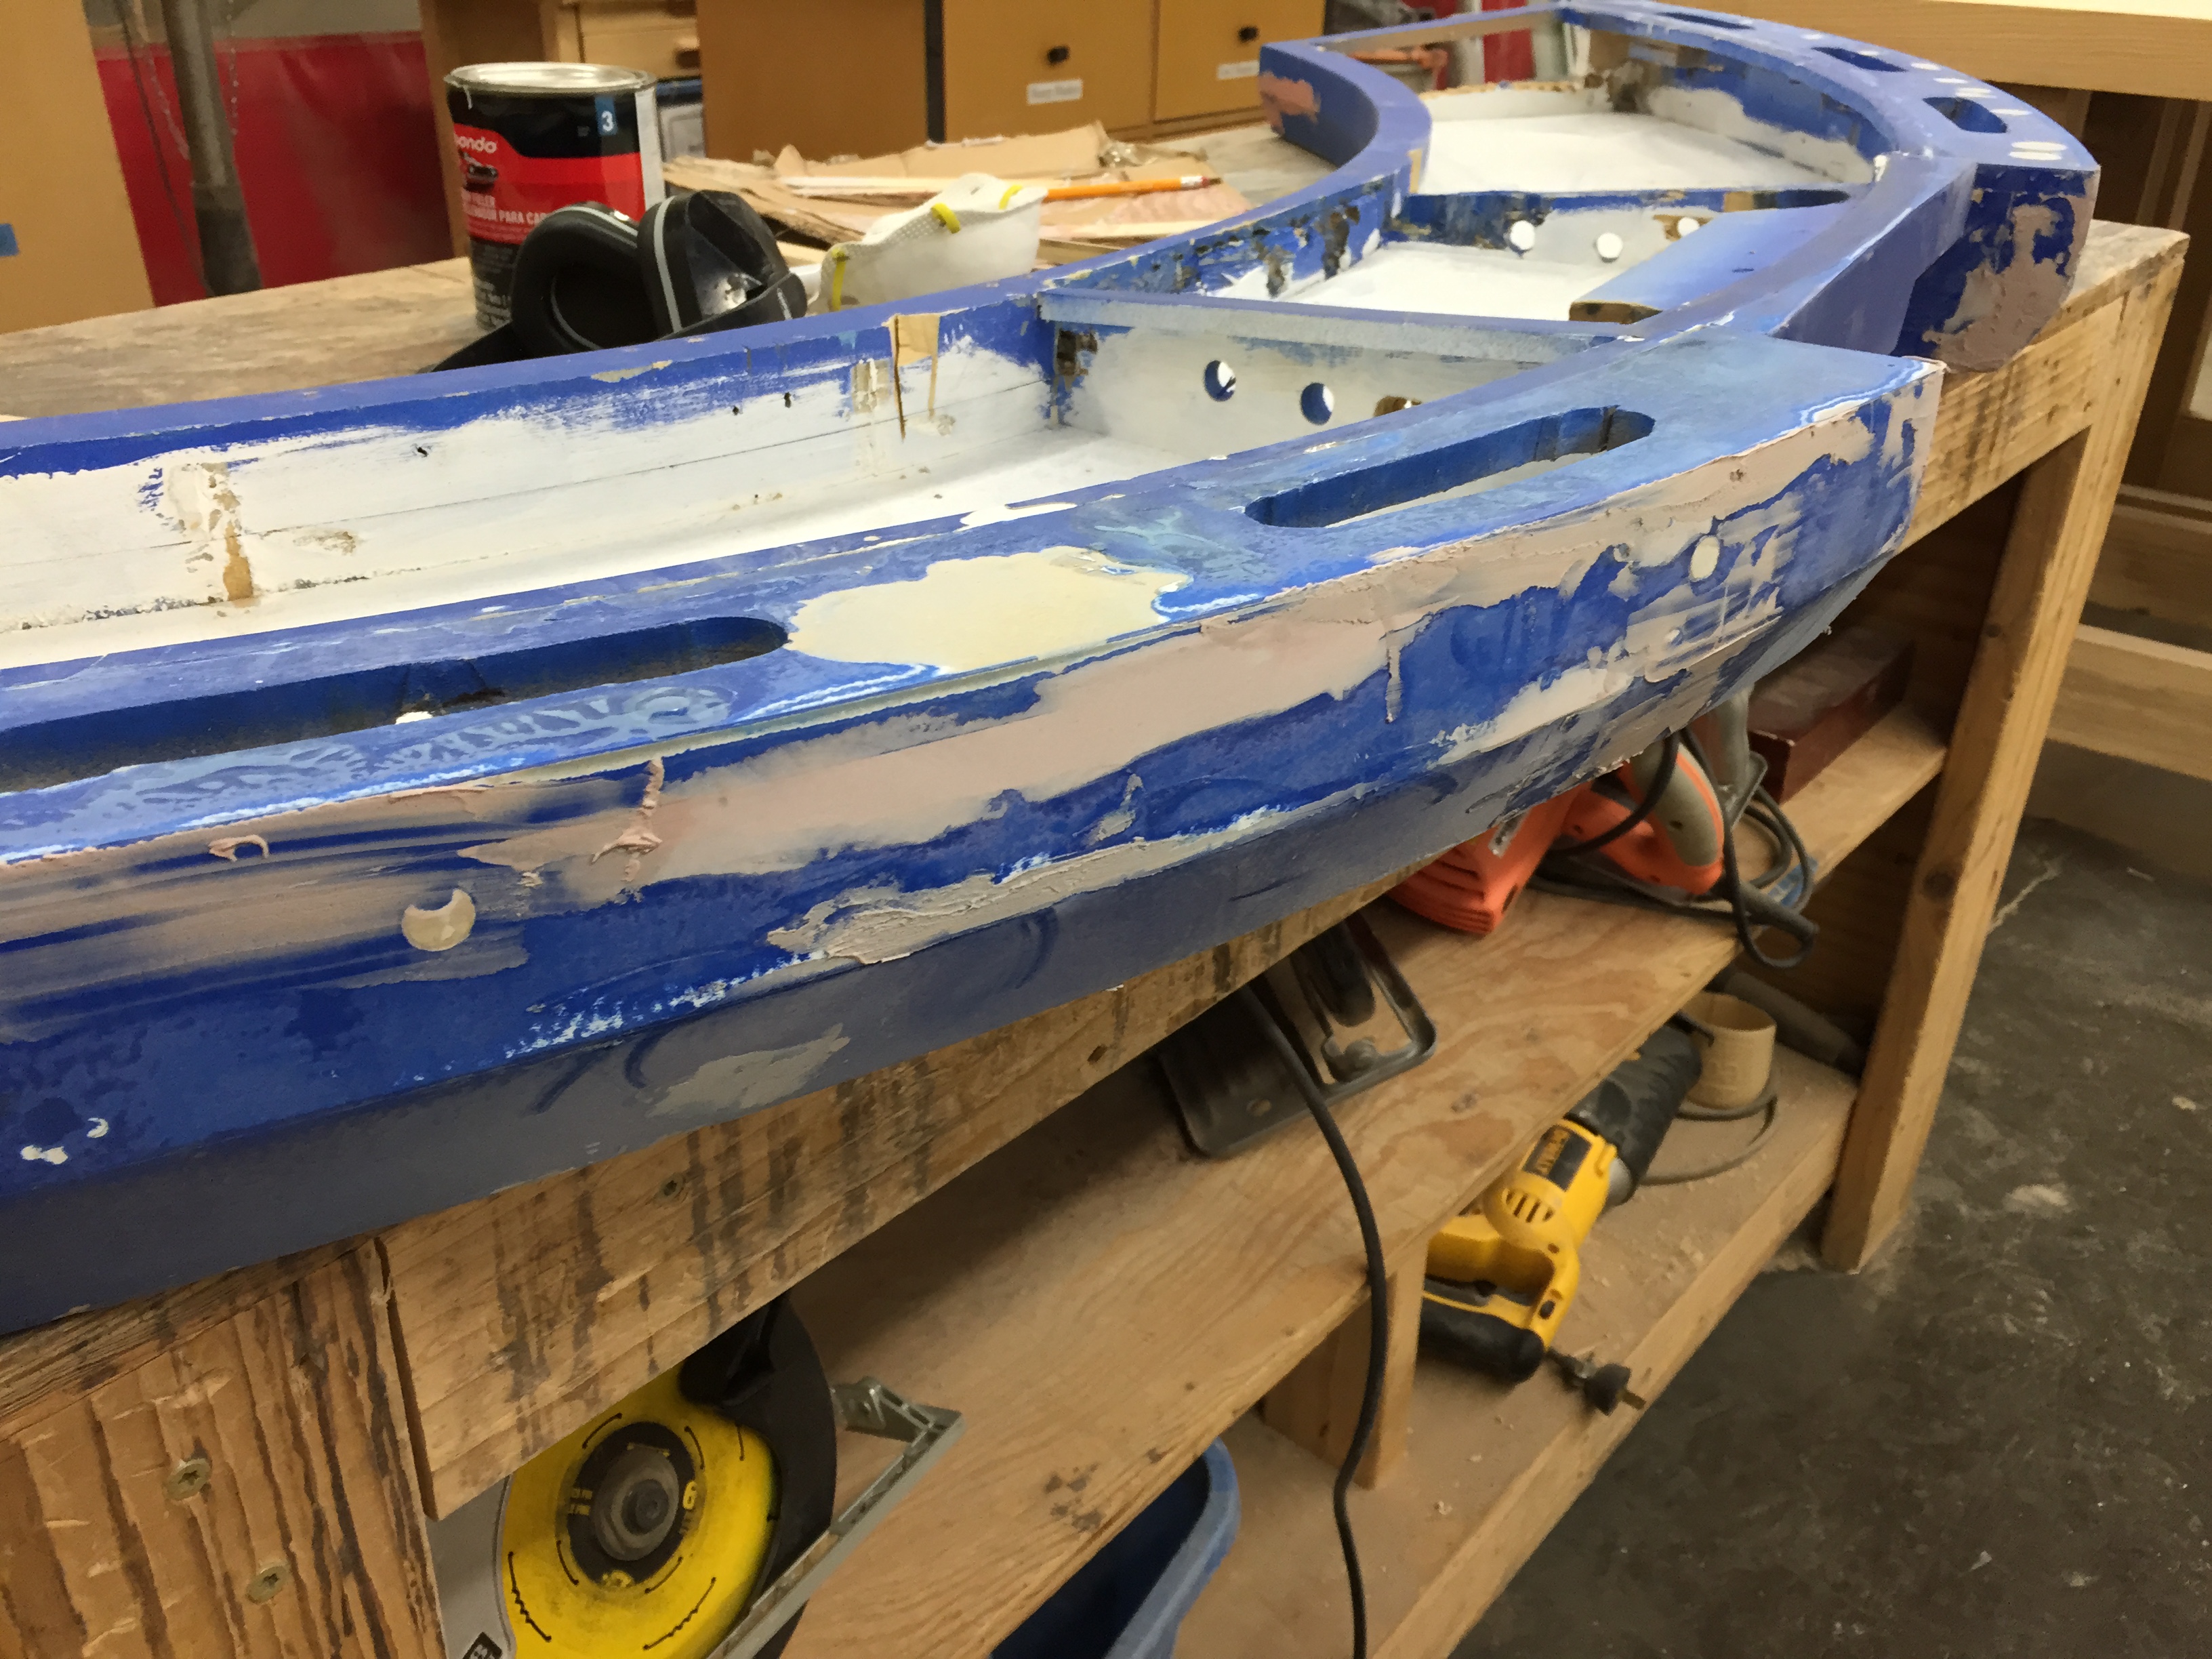 I purchased it from a source in England and had it shipped to the US. The console was pretty beat-up and required a complete renovation that took several weeks. First job was to patch, repair, and paint the base.
I then rewired and replaced many of the lights and completely reorganized the wires. For fun, I also added a sound unit which allowed me to add 8 computer-voice sound effects when various buttons were pushed.
 The room has many other features in the way of lighting and Sci-Fi decorations.
If you’re thinking it would be cool to do this in your house or shop, go for it! I learned (and failed) a lot along the way and the internet is filled with wonderful resources to get you started. Keep exploring, keep making!

